为7tec主题添加存档页面
2018年12月2日 01:07

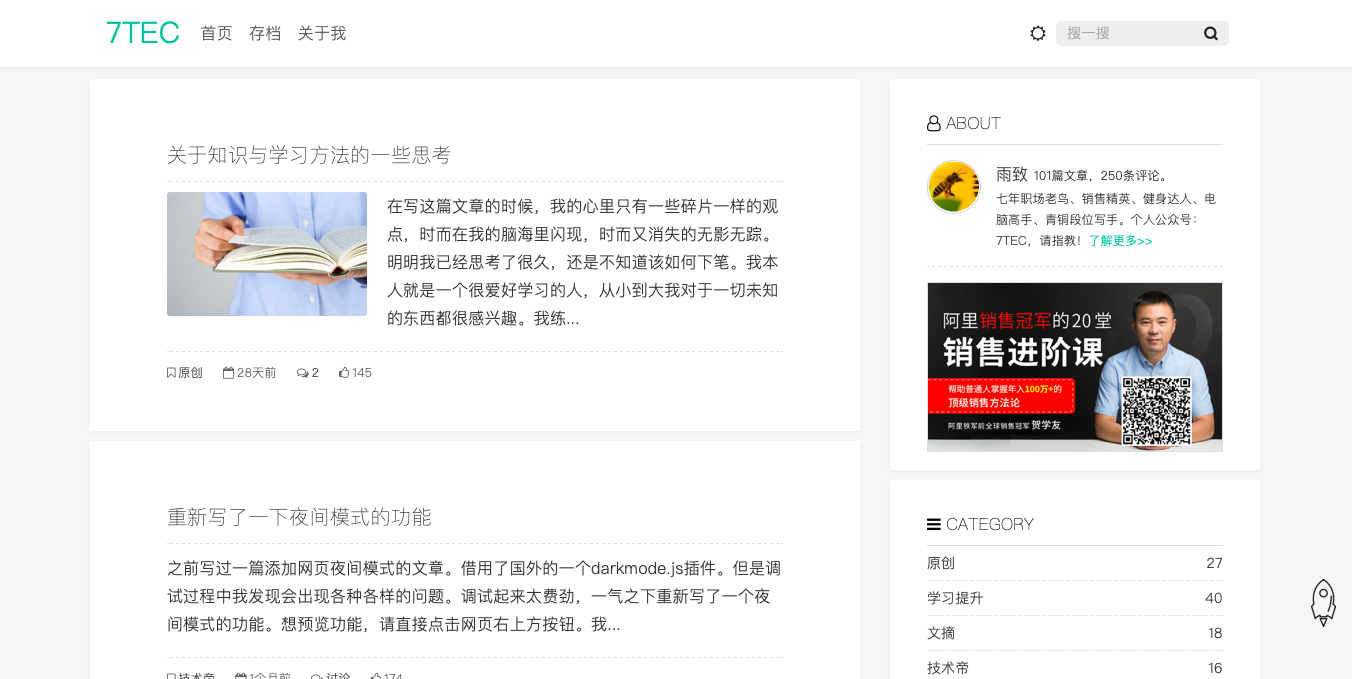
应一位热心网友的要求,为本主题添加了一个存档页面。这样手机端的用户不用一页一页往下翻,直接通过存档页就可以看到所有文章。可以说该功能还是很实用的。
从网上搜集到一些代码,于是开始创建存档页: 1.先创建一个空白的页面命名为all.php或者xxxxx.php都行。 2.将以下代码复制粘贴到该页面,然后保存。
<?php
/**
 * 自定义归档页文档
 *
 * @package custom
 */
if (!defined('__TYPECHO_ROOT_DIR__')) exit;
 $this->need('header.php'); ?>

<div class="col-sm-12 col-lg-8" id="main" role="main">
<article class="post Card typo" itemscope itemtype="http://schema.org/BlogPosting">
    <div class="post-box paddingall">
        <div class="post-title-box">
        <h1 class="post-title" itemprop="name headline"><?php $this->title() ?></h1>
        </div>
        <div class="post-content" itemprop="articleBody">
           <?php $this->widget('Widget_Contents_Post_Recent', 'pageSize=10000')->to($archives);
$year=0; $mon=0; $i=0; $j=0;
$output = '<div id="archives">';
while($archives->next()):
    $year_tmp = date('Y',$archives->created);
    $mon_tmp = date('m',$archives->created);
    $y=$year; $m=$mon;
    if ($mon != $mon_tmp && $mon > 0) $output .= '</ul></li>';
    if ($year != $year_tmp && $year > 0) $output .= '</ul>';
    if ($year != $year_tmp) {
        $year = $year_tmp;
        $output .= '<h3>'. $year .' 年</h3><ul>'; //输出年份
    }
    if ($mon != $mon_tmp) {
        $mon = $mon_tmp;
        $output .= '<li><span>'. $mon .' 月</span><ul>'; //输出月份
    }
    $output .= '<li>'.date('d日: ',$archives->created).'<a href="'.$archives->permalink .'">'. $archives->title .'</a></li>'; //输出文章日期和标题
endwhile;
$output .= '</ul></li></ul></div>';
echo $output;
?>
        </div>
    </div>
</article>
</div><!-- end #main-->
<?php $this->need('sidebar.php'); ?>
<?php $this->need('footer.php'); ?>
3.将该页面上传到主题目录下。 4.登录后台创建新页面,命名为存档,然后在右侧自定义模板中选择:自定义存档页文档,点击发布页面。 5.完成。
PS:本站主题已经附带了该页面,不用再次下载。如果你使用的不是本站主题,请点击下面的链接下载,然后放到主题目录里面去。
http://www.7tec.cn/usr/uploads/2019/02/all.php.tar.gz
专业办理低费率POS机,使用稳定,不乱涨价,不乱扣费,微信联系salesleads
版权声明:本站文章大部分为原创文章,如需转载请提前联系站长获得授权;本站部分内容源自网络,本站承诺绝不用于商业用途,如有冒犯请联系站长删除,谢谢。站长微信:salesleads 本站公众号:企泰7TEC,敬请关注!本文链接:https://7tec.cn/detail/60


